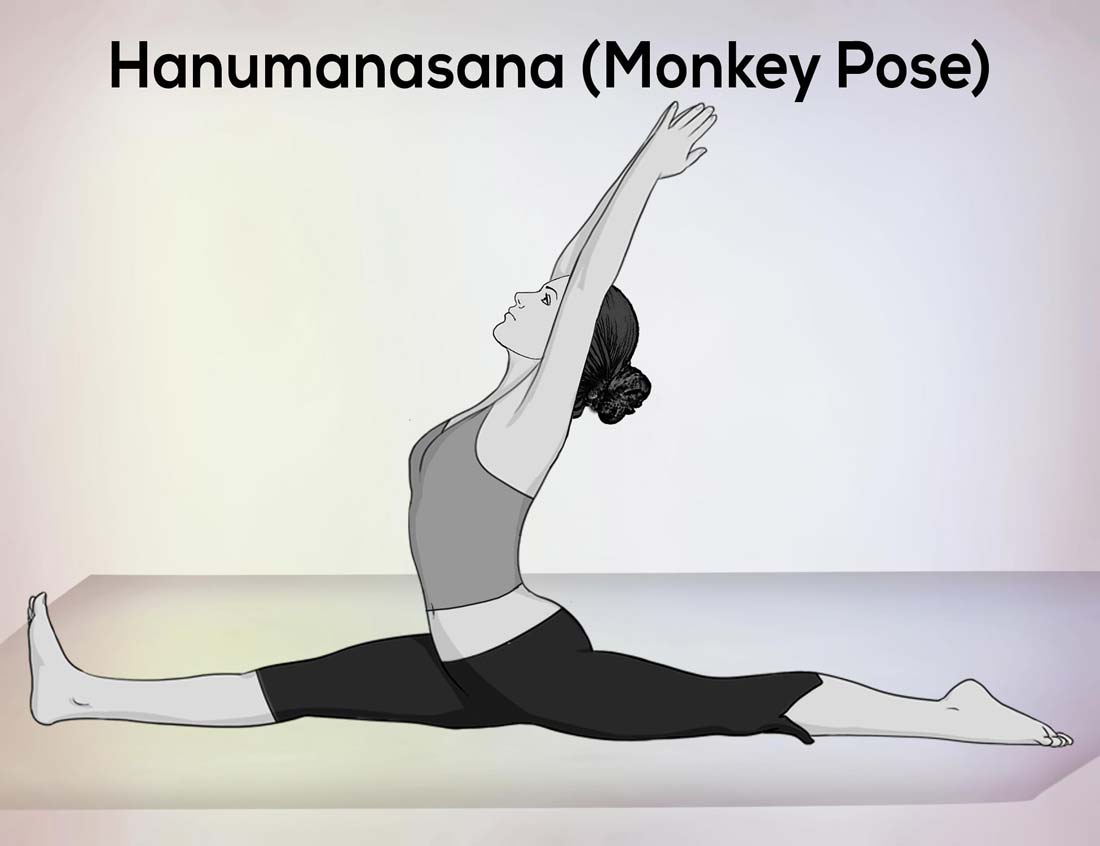
Hanumanasana Yoga (Monkey Pose) Benefits, Steps, Precautions,Tips
Hanumanasana (HAH-new-mahn-AHS-uh-nuh), the name comes from the Sanskrit word Hanuman which is related to Lord Hanuman in Hinduism and the posture (posture). This asana is reminiscent of the giant leap made by Hanuman in an ancient story to reach the Lankan islands from the mainland of India.
Hanumanasana (Monkey Pose) It belongs to the intermediate level of asanas. This is an intense leg stretching exercise that requires more flexibility and stretching of your legs. Therefore, before performing this mudra, you must have mastered the basic level of yoga.
This article gives you the right way of Hanumanasana, the health benefits of Hanumanasana (Monkey Pose) and the precautions to be taken while practicing it.
Let us know the steps of practicing Hanumanasana (Monkey Pose) and its various benefits through this table of contents.
1)- Hanumanasana (Monkey Pose) steps: The right way to do Hanumanasana
2)- Hanumanasana Preparatory Poses
3)- Hanumanasana, Monkey Pose for Beginners Tip
4)- Benefits of Hanumanasana (Monkey Pose)
5)- Precautions to take while doing Hanumanasana (Monkey Pose)
Hanumanasana (Monkey Pose) steps: The right way to do Hanumanasana
Hanumanasana (Monkey Pose) It belongs to the intermediate level of asanas so many people are this queries, How do you do monkey pose?
1)- First of all, by laying a mat or blanket on the floor, keep the knees of both your feet on the ground, note that your knees are different. Now keep your right foot in the forward direction and raise the inner sole. Make sure your outer heel is touching the ground.
2)- When your heels are touching the floor on the floor, then tilt your torso forward and press your fingers firmly on the floor. You can also press your hands onto yoga blocks placed along each hip.
3)- Now straighten your right leg, but do not lock or over-extend your knee. Now slowly start pressing your right heel forward away from your torso. Continue rotating your right thigh inward so that your knee is pointing up, toward the ceiling. Now carefully at the same time, move your left knee backwards. Press the top of your left foot into the floor, or press your left toes for more stability.
4)- Now keep your hips in front and parallel to the floor and check to make sure that your left leg is reaching straight behind you and not extending out to the side. The center of your left knee should be pressed to the floor. Flex your right leg, reaching your toes up to the ceiling.
5)– When you feel comfortable that you are stable, bring your torso straight and place your hands on your chest in prayer position (Anjali Mudra), or you can reach your arms straight up to the ceiling. Gaze softly at the horizon.
6)- Stay in this pose for about 30 to 60 seconds or as long as you are comfortable. To release, press your hands firmly into the floor. Leave your right leg slightly open as you gently pull your right heel and back leg up toward your torso. Return to your starting position.
7)- Repeat the same process with your left leg in the forward direction and the right leg in the backward direction for the same amount of time.
Hanumanasana Preparatory Poses
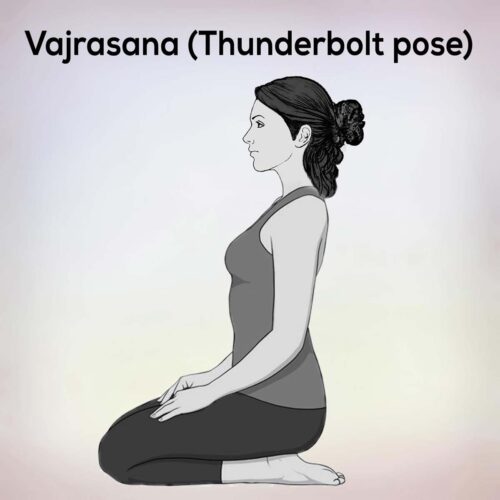
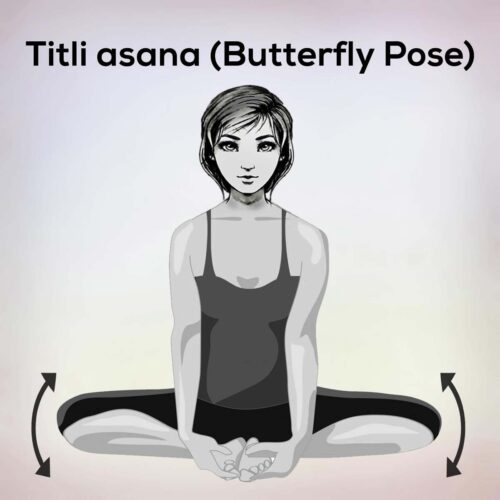
- Baddha Konasana
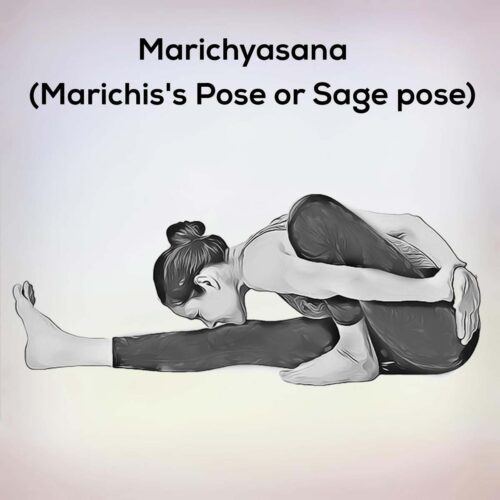
- Parivrtta Janu Sirsasana
- Paschimottanasana
- Prasarita Padottanasana
- Supta Virasana
- Upavistha Konasana
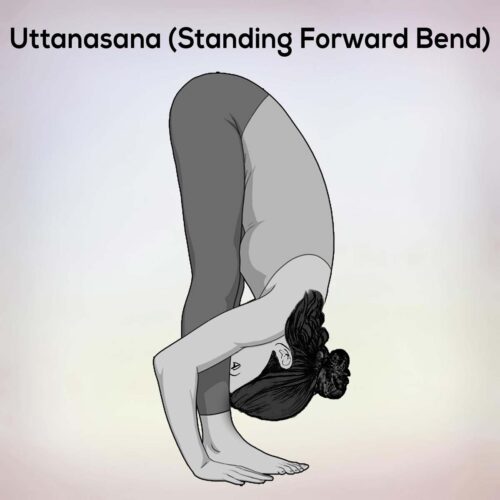
- Uttanasana
- Virasana
Hanumanasana, Monkey Pose for Beginners Tip
Hanumanasana (Monkey Pose) This belongs to the intermediate level of asanas, and it can be very challenging even for beginners! Keep the following information in mind while practicing this mudra:
- If you are beginners and your front leg doesn’t reach the floor, place a block under your hamstrings for support.
- Beginners most often find it difficult to support themselves and keep their torso more upright. Place each hand on the yoga block to help him.
- When you first practice Hanumanasana (Monkey Pose), you can use a wrap under your lower legs and knees to make it more comfortable.
- Beginners need daily practice as this is a very intense pose, so don’t do this pose immediately without practicing basic asanas.
Benefits of Hanumanasana (Monkey Pose)
- Hanumanasana (Monkey Pose) opens the hamstrings, quadriceps, groin and hip flexors while toning and stimulating the abdominal organs. It stretches and strengthens the muscles of the groin and thigh.
- By doing Hanumanasana, you stretch the front and back of your legs, which mimics the movements you do in other activities including walking, running, cycling and skiing.
- Practicing Hanumanasana regularly will keep your feet and hips supple, which can help prevent injury in other activities.
- By doing Hanumanasana it stimulates the digestive and reproductive organs by enhancing their functioning.
- Hanumanasana (Monkey Pose) if practiced daily makes your hips flexible.
Precautions to take while doing Hanumanasana (Monkey Pose)
- According to the Yogacharya (expert), this asana is considered best if the yogi practices it early in the morning. Because for yoga, morning is preferred because food is digested at that time and your stomach remains empty, allowing the body to relax. You get the energy to do asanas. If for some reason you cannot do it in the morning, then you can also do this asana in the evening. But it is very important to have a gap of at least 4 hours between your yoga posture and food.
- Do not practice this yoga pose if you are suffering from any injury like back injury, especially in the hamstring or groin area.
- In doing this pose, divide split your legs as much as you can in the beginning. Do not over-exercise.
- This pose with regular practice, and you should be able to perform the split all the way, but until then, only go into the pose as deep as your body comfortably allows you to.
- Practice this mudra only under the supervision of an expert instructor as it is not a basic yoga asana.If you do not do this asana properly then you can injure yourself.
Legal Disclaimer: Before participating in any exercise program or using any fitness products or services that may be described and/or made accessible in or through the Nexoye Website and/or the Services, you should consult with a physician or other healthcare provider.
